Giants/Snelslow
Scott, Will – Report by Will
A last minute day off meant we sadly had low numbers on this trip to the Peak District, however with two caves on our radar, both of which requiring SRT and relatively new territory to us both meant we were suitably occupied throughout.
An early start meant we avoided most of the South-bound M6 congestion and found ourselves at Peakshill Farm just after 9am ready for a quick snack and kitting up. One other caver was awaiting his team for the day and their plan was to tackle Snelslow Swallet (one of the two we were there for!) in the morning and be out by dinner, which worked perfectly as we knew that even if they were a novice team moving slowly, they would certainly be out or well on the way out by the time we were going in. Giants Hole was the first on our list then, and we now knew we’d beaten everyone and had the place to ourselves. Both of us had been in previously, however Scott just the once to complete the through/round trip that’s available in there and myself for a couple of cave leader courses. This meant that neither of us had really had the opportunity to ‘explore’ and so that was the plan for the morning. Water levels were relatively high compared to what we’d previously encountered here, but at this stage not enough for us to be worried and we adopted a dynamic risk assessment approach fully expecting to be turned around at some point. I think it’s safe to say that before we got underground, we’d both decided that as dry a day as possible was on the cards! We didn’t mind a bit of wading, and waterfalls that couldn’t be avoided, but neither of us fancied any flat out wet crawls and both deliberately left our wetsuits behind!
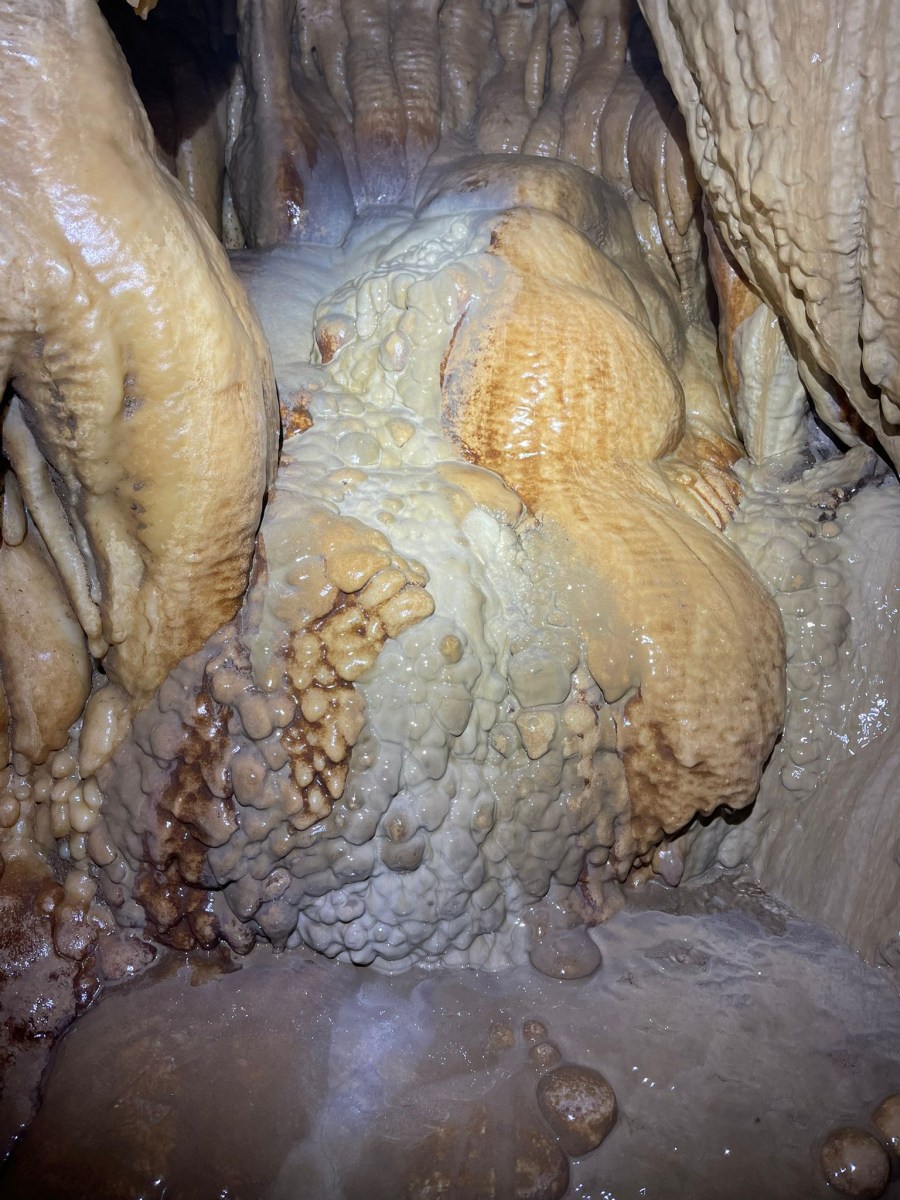
In we went, firstly up into the Upper West Passage which quickly turned into a crawl until its end. We avoided the Upper East Passage as the description hinted more of a crawl and wetter than the West so we dropped back down into the main streamway and headed to the First Stream Sump. Although everything was very visibly wet at the sump, it was evident that the levels had recently been higher and had dropped and so this gave us a little more hope we may get the trip we’d hoped for! After a somewhat leisurely stroll plus a bit of stooping down Giants Highway, with the odd stop for a bit of admiration, a well decorated chamber worthy of a picture or two, we soon arrived at Base Camp chamber where the sound of water rang in our ears again. Here there’s an incredible stream flowing along a bedding plane and out of the wall, with an interest climb up to explore (we left this for the way back). With Garland’s Pot next up, we quickly moved through the passageway to where it opens back out and the floor steps and falls away revealing the 6 metre hole that is Garland’s Pot. We quickly had the pitch rigged and deviation in place to keep us as far out of the waterfall as possible (that was rather loud and active!) and onwards into the narrowing passages to keep us out of the cold water spray. After a short meander through some awkward passageway we popped out at Chert Hall, evident by its incredible flow stone formations. We quickly pushed on, again saving this section for our return. After another 10/15 minutes of passageway we found ourselves at the Crabwalk traverse, and quickly set about preparing ourselves for SRT mode again.
A quick flashback to give context – I’ve been in here twice in the last couple of months, I haven’t done the Crabwalk yet but had been to the start of it. My training was looking at cave leader rigging and ropework plus rescue training. I remember coming away from Giants Hole thinking they do like a thread down there in the Peaks and so promptly set out on my return home to equip my already pretty well equipped caving kit with some shortened lengths of cord (I already had/have a HUGE selection of slings).
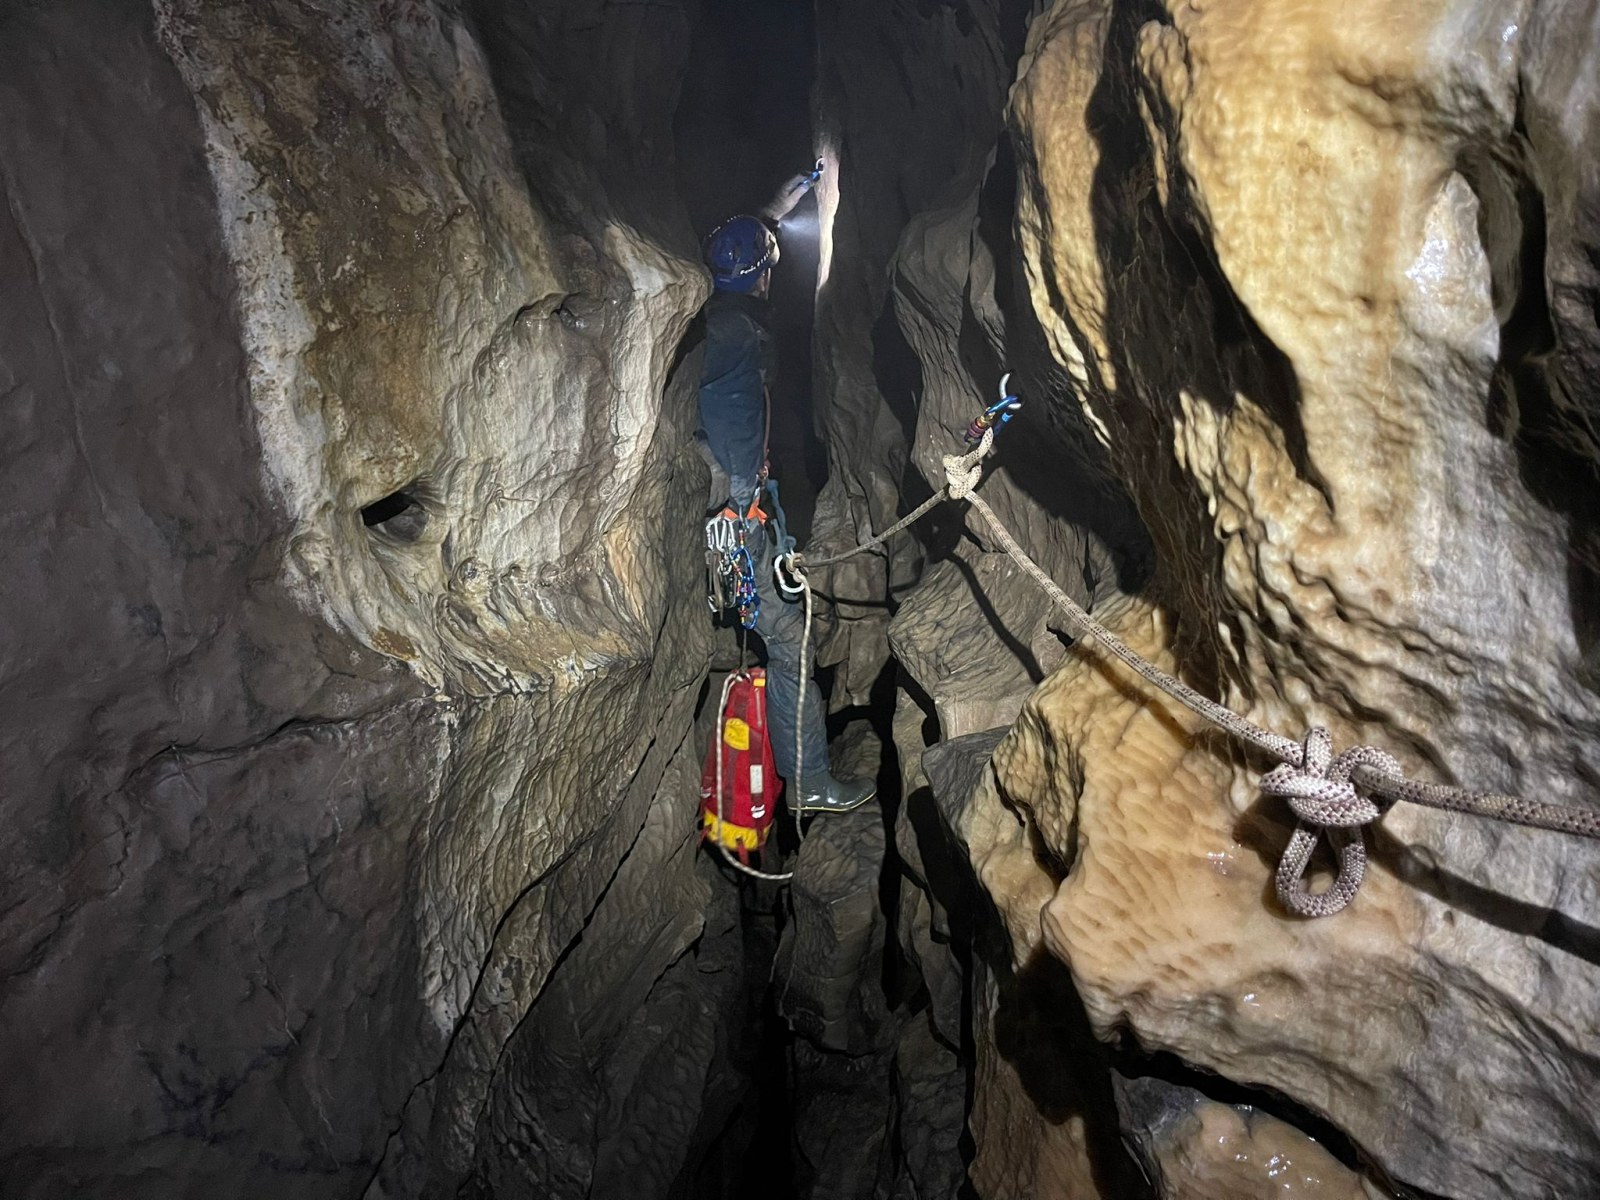
So there we were at the start of the Crabwalk, I rigged Garland’s so it was Scott’s turn and before passing him the topo we had a quick check. S**T!!! Forgot my bloody threads didn’t I! Brought them all the way back to the Peaks and left them in the van! The Crabwalk has 15 anchor points, 6 being bolted, 8 as drilled threads and 1 as a natural thread. I think it’s fair to say at this point Scott and I called challenge accepted and after a few minutes of interesting rigging and improvisational tactics, we were across the Crabwalk. We had an explore down every available passageway, although most of these attempts quickly were abandoned when our first rule of the day (no wet crawling) soon kicked in and one of us would say to the other “you can if you want, but I ain’t going in that!” I think our success on the Crabwalk gave us a false sense of security somewhat, as the sketchy tactics continued. After peering into a very narrow aven from the top through a small 30cm triangular shaped hole which we couldn’t see the bottom of and it meandered around out of view, Scott and I decided the only suitable option was to connect cows tails and I (being the heavier lump) act as anchor and lower him in. Amazingly Scott got in the opening but sadly to no avail and I promptly pulled him out like hook a duck. A couple more passageways to poke which either choked up or we abandoned within a few metres and we decided to make our way back to explore the things we’d saved for our way out. First being the Chert Hall flow stone climb, at the top of which there’s a small crawl onwards that eventually turns you back and Scott did the honours as the rigging baton was back to me. The Chert Hall traverse starts with a natural and a short ab down the previously scrambled flow stone before traversing off to your left (or right as ab-ing) back towards Garland’s Pot. A series of bolted anchors and drilled threads (let’s not talk about it) take you along an easy traverse with some large ledges on either side, before a narrower ledge takes you up to a main ledge on the opposite side of Garland’s Pot to the way we originally came in. A small 4 metre ab into Garland’s Pot pretty much rounded up the lower section of the cave for us and we were now getting wet and cold from the waterfall coming down Garland’s. With speed in mind now, Scott headed back up the rope end we had just descended and I quickly headed down the stream passage crawl back to Chert Hall to climb the flow stone and de-rig from the start of the traverse, Scott de-rigging from the opposite end, with the plan to meet in the middle, scramble back down into the lower passageway and get out of Garland’s pronto. This went as planned and we were soon back in Base Camp chamber scrambling up the calcite formations to explore the passageways which soon became impassable but were well worth the extra time taken! I think it was evident at this point that we were both ready for a sandwich and so we headed straight for the surface, which luckily didn’t take too long. On our way out we still hadn’t seen a soul, so we really did have the place to ourselves!
Upon surfacing, the cold wind soon kicked in and we both had hoods up and buffs on but the walk in/out for Giants is only a few hundred metres so we were quickly back at the van huddled in the back opening eating sandwiches as though we were setting records. We also spotted that the other party were heading back across the field, and no other vehicle had arrived so we had a clear shot at Snelslow, you couldn’t have asked for better timings! This time, we had packed everything we needed and off we went across the field at a very fast pace in an attempt to warm up. Caving temperatures were perfect, if a touch too warm at times, but on the surface the wind just ruined everything, and had the second walk in/out been any longer I think we may have called it a day after Giants!
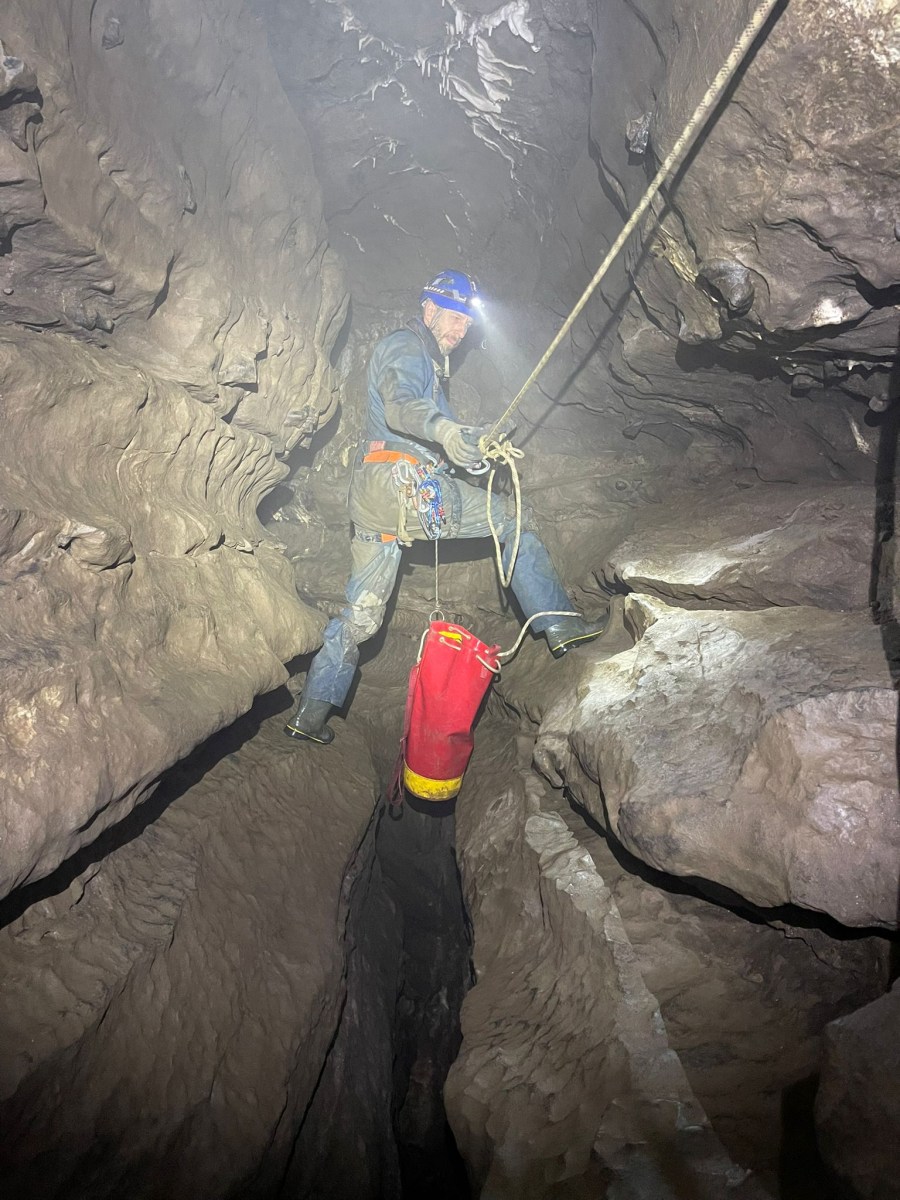
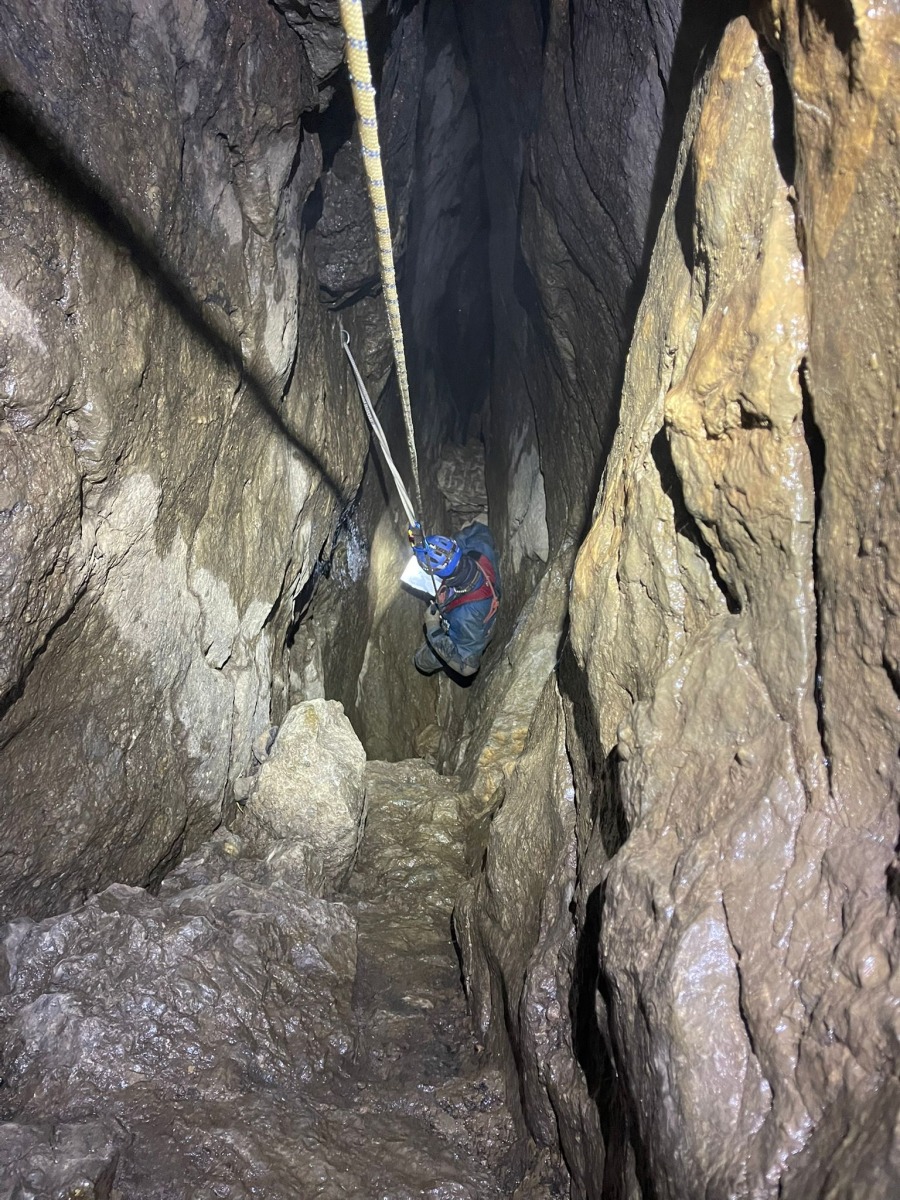
After a little descent into the gulley where the entrance to Snelslow Swallet can be found, we climbed down the entrance ladder to instant relief from the wind lifting our spirits again. I handed Scott the ropes along with the topo as the baton was back to him (plus I’d also recently rigged this on another trip and really enjoyed it so wanted Scott to experience that too). Initially some narrow, walkable passageway leads to the first pitch down a well secured boulder wall that ends in a lower roofed space with signs of a potential dig of to the right. The second pitch starts immediately and the way on is down through a narrow slot onto a ledge where a re-belay to the left can be found. A short 4/5 metre abseil to another ledge with a window into a large aven and then there’s a few rigging options to continue but my personal favourite is to go for a ‘Y’ hang with 2 bolts above the window, into a re-belay using a bolt either side of the aven roughly 5 metres below the window, and then your straight down the remaining 25-30 metres below descent. There’s a lot to look at in the bottom of this seemingly small and uninteresting cave. The fossils and the size of them are some of the best and biggest I’ve seen (granted I’ve not seen much outside of the Dales and I still have a lot of the Dales to see! But even Scott joined me in awe at some of them!) mainly crinoids. The passageway does continue on with a low crawl off to the left which we didn’t opt for, and then a passageway to the right leading to another pitch head which isn’t on the topo and so we didn’t have any more ropes with us and neither of us fancied climbing out to cross the windy fields to get more rope from the van and return. Perhaps I should organise a KCC follow up trip? What is at the bottom of that pit?!


Leave a Reply
You must be logged in to post a comment.